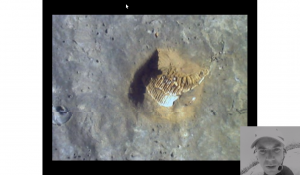
Here’s a 2 minute video we produced for our field trials in Plymouth as an introduction to the ERA project.
Tag Archives: video
Cheap IP cameras: the Edimax IC-3010WG
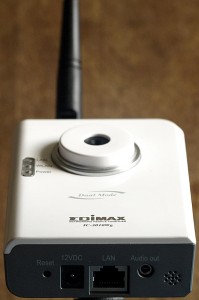 A much cheaper solution for IP video than the Axis Q7401, the Edimax IC-3010WG network camera is only £80 from use-IP.co.uk. For your money, you get a white plastic camera with a choice of wired or wifi network connections with a maximum resolution of 640×480 at 30fps. Video streams are available in either M-JPEG or MPEG-4, with a built-in microphone and 3.5mm audio-output jack. The lens is fixed focal length and autofocus down to about 25-30cm, there is a reverse-SMA connector for the supplied wifi antenna on top of the unit and a 1/4″W standard camera tripod thread unusually placed on the back. Continue reading
First look at the Axis video encoder.
Yesterday was our first opportunity to take the brand new Axis Q7401 video encoder for a test drive. It’s a well engineered and rugged unit which takes composite video and turns it into an M-JPEG or h.264 MPEG-4 stream. The Q7401 can be powered by either 12v DC or PoE, has an SDHC slot for recording video straight to flash memory, audio inputs and outputs, a serial interface for remotely controlling camera movements and an I/O connector for (e.g) plugging in sensors, or switching lights and buzzers. Continue reading
Axis of Openness
Frustrated with the poor image quality and/or interfaces of our existing IP cameras, it’s time to search for better alternatives. New trends in IP camera technology include megapixel sensors, h.264 video encoding and, reportedly, open standards. There are several interesting open standards cameras on the market already:
- The stunningly high resolution Elphel series, which have a HD ‘film’ maker/developer community around them.
- The Freescale i.MX27 open reference design, again with a developer and enthusiast community.
- Enthusiast-developed projects around existing (proprietory interface) IP cameras; Edimax make some very affordable cameras, there are similarities between this and the famous Linksys WRT-54g firmware projects.
- Axis, one of the leading IP video hardware manufacturers, already has a history of open-standards involvement and is a part of the ONVIF open-interface group.
Testing IP cameras, part 2
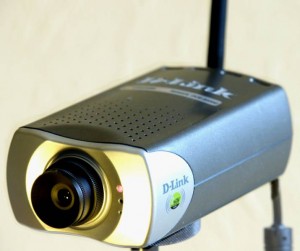 Now we’ve seen that the nice and simple DCS-900 is pretty handy when controlled from Linux with no ActiveX. Time to examine the much more complex DCS-3220g, which should give us MPEG-4 encoded video. It’s another rebadged Vivotek as far as we can tell. This camera has a built-in WiFi radio as well as wired ethernet, has an interchangeable lens and should support a 2-way audio link. It comes with a Windows software package for managing multiple cameras. Continue reading
Testing IP cameras – pt.1
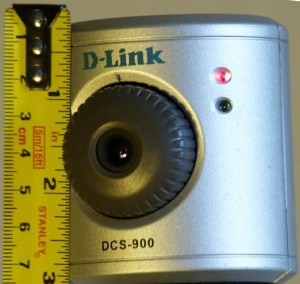
Since ERA already has some IP cameras from previous years, it’s probably time to dust them off and try them out with the new Asus 901s. We have a pair of D-Link badged items – a DCS-900 wired-only Motion-JPEG camera with a maximum resolution of 640×480 pixels, and a much fancier DCS-3220g which has 802.11g WiFi as well as wired ethernet, full PAL -sized MPEG-4 as well as Motion-JPEG output, sound support via an internal mic and line output socket and an interchangeable CS-mount lens. Continue reading
Investigating video upgrades
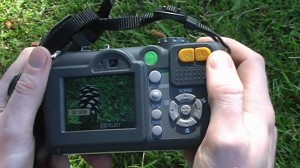
During our field trials, it became clear that the built-in video camera on the Asus EEE 901 (and 701) is in the wrong place for our needs.
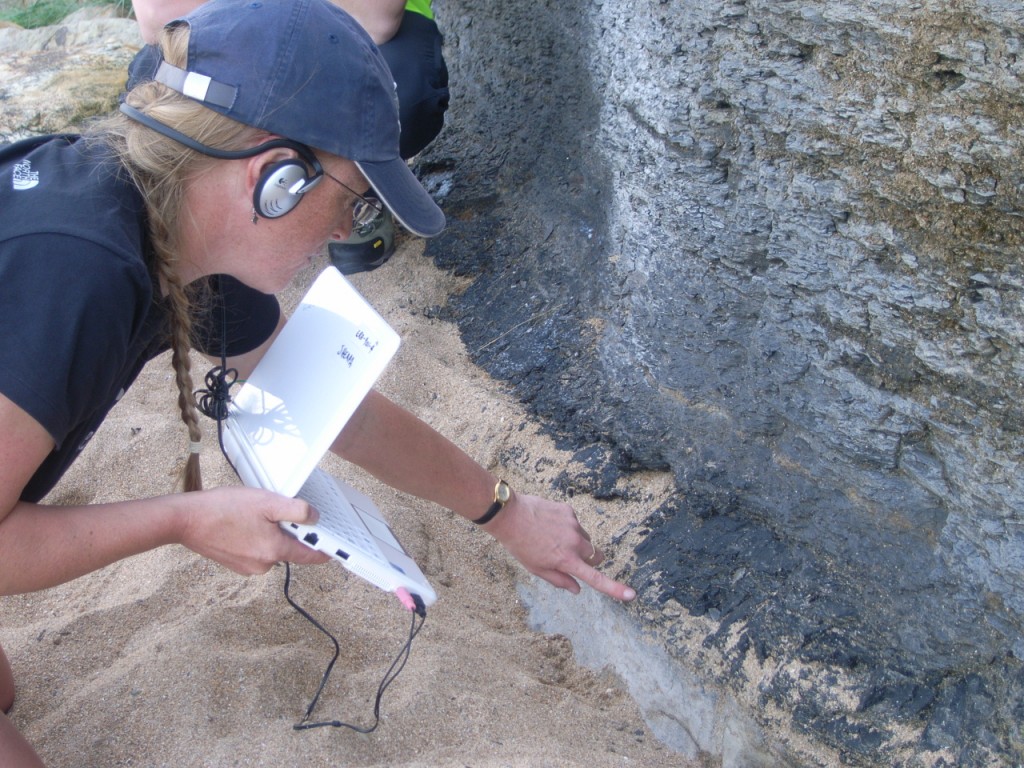
Using the Asus Eee PC 701's built in camera to capture geological features. The camera is built in to the top of the screen and is clearly designed for 'video diaries' or online video conferencing rather than capturing views of the landscape.
The 901 camera itself is a pretty good (for a plastic lens webcam) 1.3 megapixel device that’s supported in Ubuntu, but it faces the user, and we want it to face the rest of the world. Additionally, we found when using an external USB webcam, that being able to hold a smaller separate device or mount it on a helmet, rather than trying to point a whole netbook, was both easier and safer when clambering about on the rocks. From our experience and listening to the field geologists, we came up with a wish list of properties for a new video camera… Continue reading
Thursday: Configuration and Demonstration
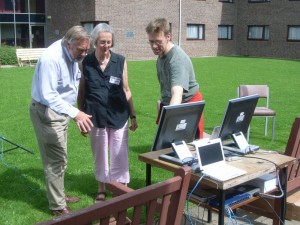
Mark demonstrating the ERA system to Bob and Di, tutors for students with additional requirements at the OU geology residential school
Today we had a morning checking over kit, and trying out further configurations. One of the benefits of working alongside an Open University residential school is that we’re getting to visit a lot of authentic field sites and trying out different configurations in quite an intense schedule. So this morning we dedicated some time to documenting where we’d got to and trying some new configurations.
Another great aspect of the residential school is that we get to spend some time with tutors and students and are offered valuable insights into what their learning and teaching goals are. This year, two of the tutors (Bob and Di) working with the Additional Requirements students have kindly agreed to try out the system with a selection of their students on Friday. So the afternoon is spent setting up and running a small demonstration with Bob and Di to show them what we’re doing and getting their feedback, ready for a live test with some of their students at the Howick field site tomorrow.
Things seem to go pretty well and Bob and Di gave us some great feedback and thoughts on how they teach, what messages they are trying to get across, and how they found using the kit.
Testing voice and video at the edge
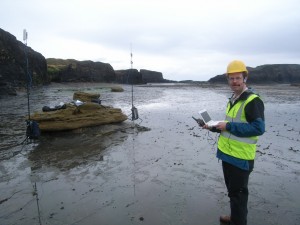
Chris on Whitby foreshore testing voice and video, with field antennae in the background
Today we went to Whitby to explore the field localities on the beach there, and also to see how far we could connect using just a single node.
In the morning we set up the base station in the car at the top of the cliffs, with a single Nanostation 2 access point, and Chris and Trevor headed off down onto the shore to explore the site. Quite a walk across the rocks and onto some interesting geology below the tide line, and with a turning tide Mark was posted not only to watch their progress but also keep an eye on the North Sea!
We made a really solid connection with two Nanostations connecting to each other and streaming voice and video smoothly between the two Asus Eee PC laptops that were connected by wire to these access points. A good few hundred metres distance covered, data to be analysed. Testing had to be cut short though as the incoming tide threatened to cut off the shore team and so it was off for the fabled fish and chips of the town for lunch.
The afternoon saw us back in the same location, but exploring how far we could push a signal from just a single Nanostation access point to a laptop on the beach over a couple of hundred metres. We ran iperf ans iwscan tests to check bandwidth and jitter rates and then tried setting up video calls. Suprisingly good connectivity was made, despite the distance. Clearly though we’re pushing the edge of what the kit can do and we found that by locking the video back to 2.048Mb/s from 3.096Mb/s give the audio a greater slice of the bandwidth and really improves its quality. Good quality audio really feels the key to giving the sense of an assured, seamless connection. We had a couple of crashes with the Ekiga video software at the edge of its range but generally this seems to be working really well on the Asus 901 PCs. We’re using walkie talkies as a backup channel as we know we’re pushing the equipment to its limit and will lose signal sometime; with line of sight we’re assured we can chat to each other, which is more than we can assume with mobile phones here!
We gathered the GPS readings from all the locations and we’ll put up the details shortly.
Clifftop multi-hop: Scremerston
Today’s visit brought us to the dramatic coastal features of Scremerston, just south of Berwick-upon-Tweed. This is a tough location for Assisted Requirements students as the high, steep cliff face can be quite challenging to negotiate for anyone. The closest practical access is down a gravelled lane (which could be driven up at a push), stopping before the gate to a muddy field full of cows. From there, the beach site (which should be visited on a falling tide) is accessed down a grassy cliff face 300m or so from the gate. From the beach access, the geological study site is quite stretched out along the sea front, with features jutting out from the cliff base into the sea.
